|
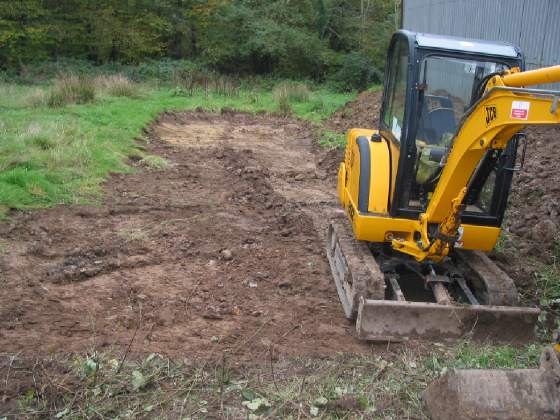
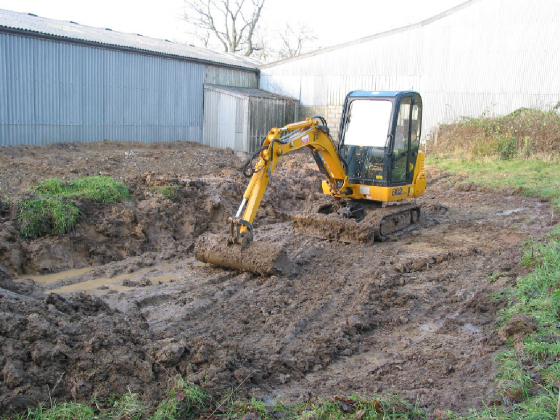
Work Begins
I had planned to dig a mud pond next year, but seeing how good the weather has been this late in the year I
decided it was time to make a start, fingers crossed the weather continues to be good. Still have a long way to go, but at
least I have made a start and I am ahead of schedule.
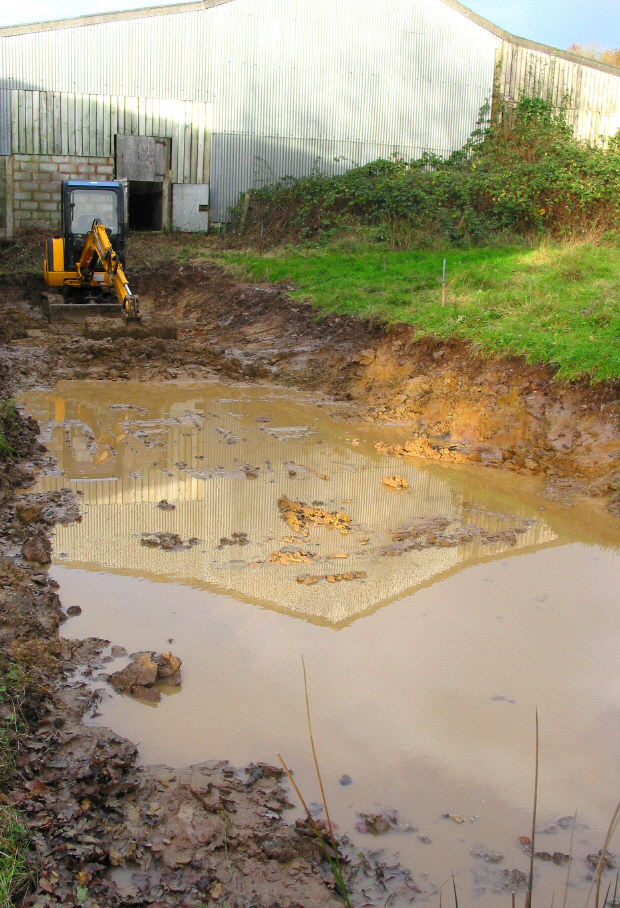
The Weather Changes
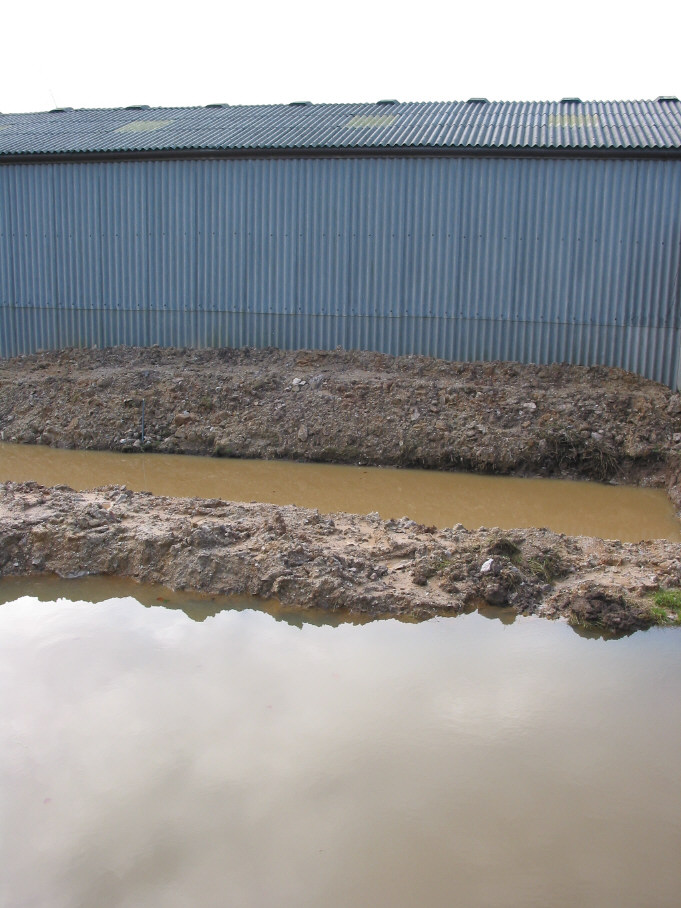
The mud pond is coming on, but the weather has now changed so the progress has now slowed. Good news is that I have
hit clay and is looking more like a mud pond by the day with all the rain we are having.
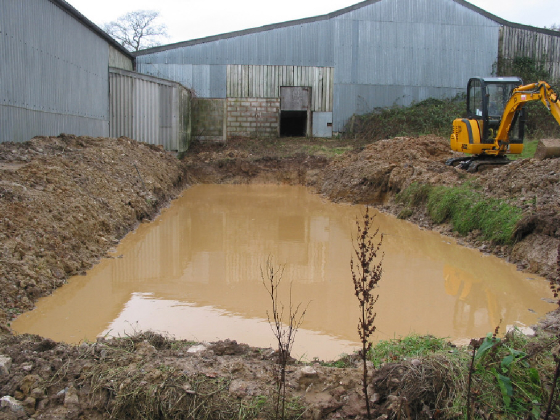
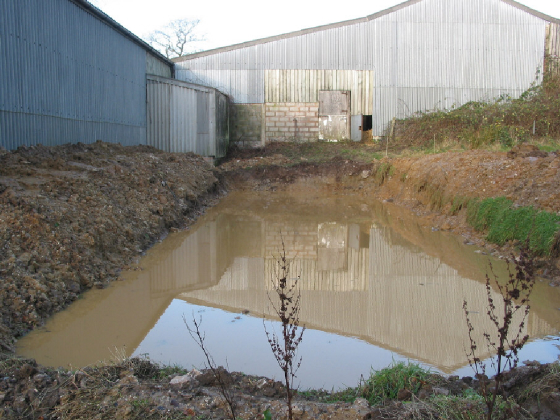
Looking More like a Mud Pond
The mud pond is coming along nicely and should not take to much to finish.
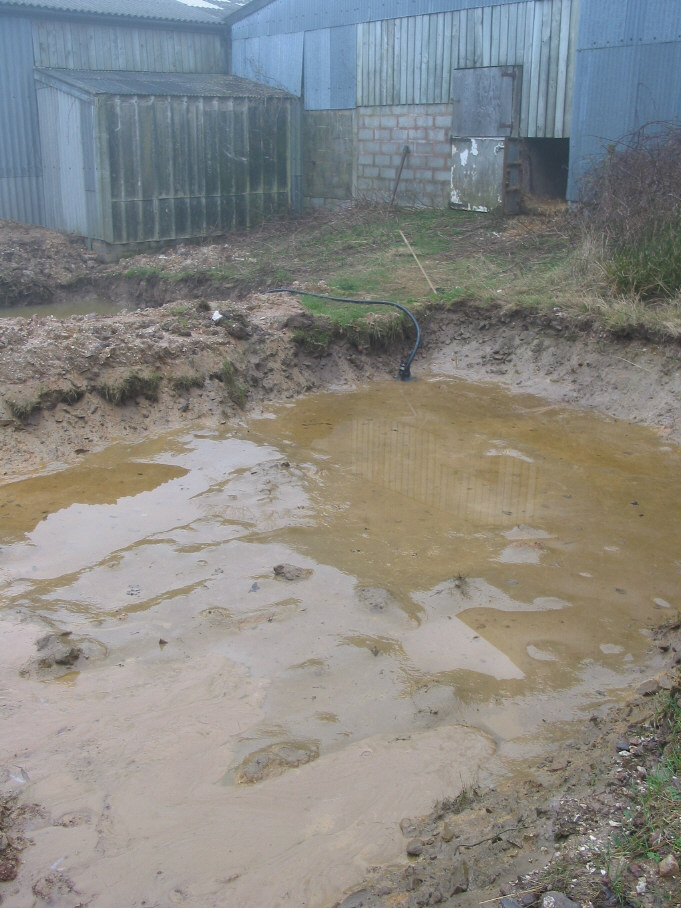
Finished Digging
Have now finished digging the 1st mud pond, very pleased how it turned out and they look a good size as well. There is
still a few bits to do but I have decided to make a start on the next mud pond.
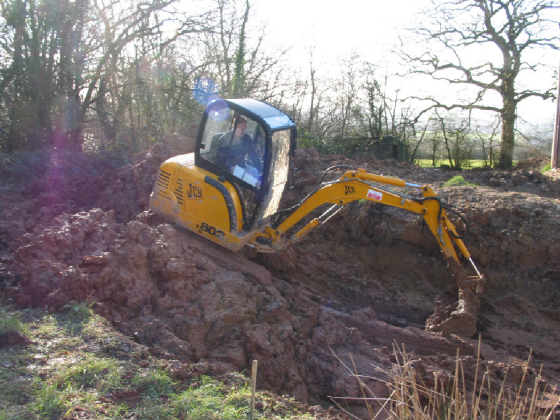
Number 2
Things are coming along nicely and the weather has now improved, I also had a bit of spare time so have
decided to dig my second mud pond. I have started digging this mud pond along side the other pond.
Looking Good
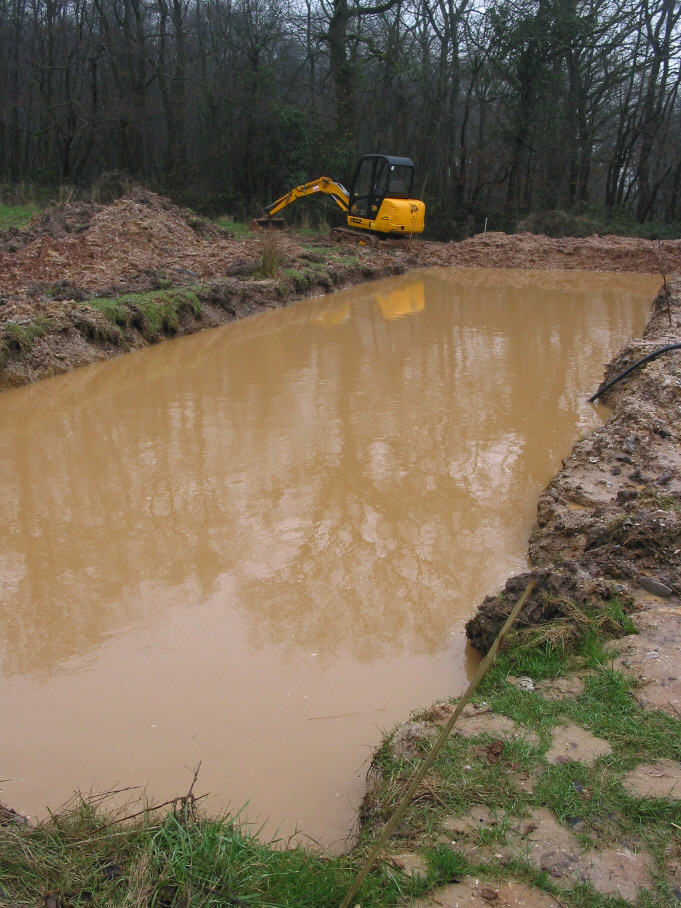
The digging has gone very well with the couple of dry weeks we have had, which is unusual for this time of year. The
pond is very close to finishing but the weather has now changed and there seems to be no end to the rain we are
having and the pond has now filled right up to the top.
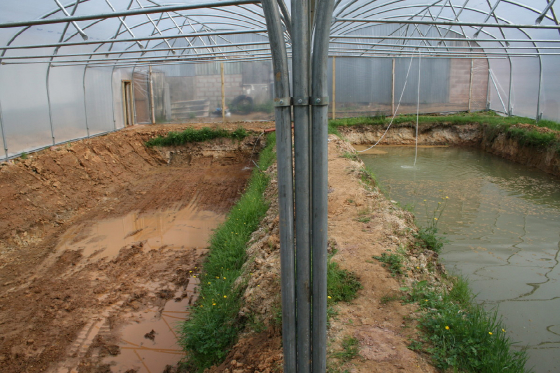
View of both Ponds
Mud pond 2 nice and full, with mud pond 1 filling up nicely.
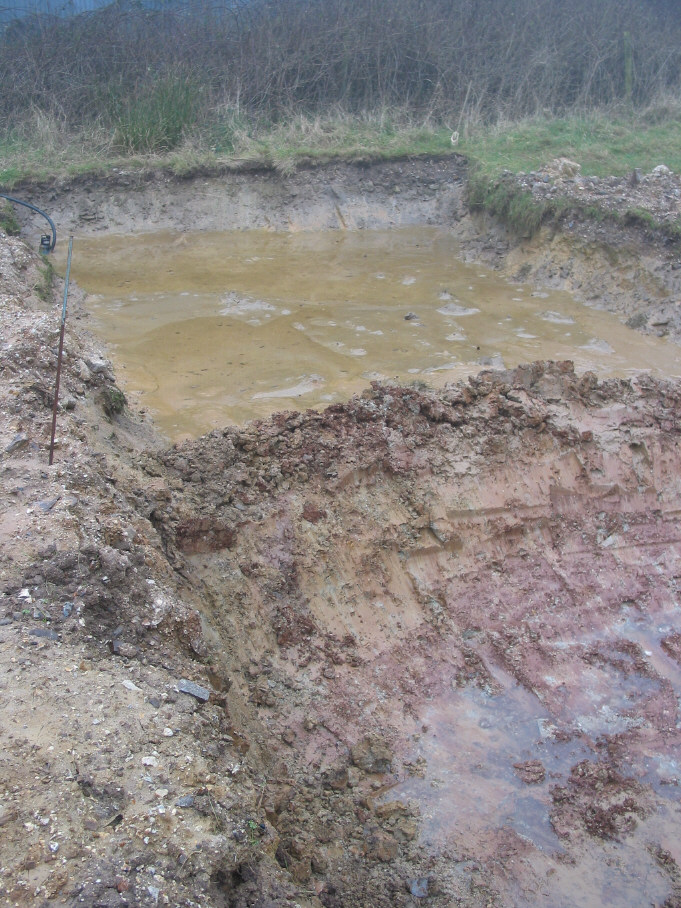
Pumping Out
Seeing how the weather has changed and we have a dry week, which is good for this time of year, I have pumped out mud
pond 2 , so I can dig it deeper. I did not manage to dig the mud pond deep enough the 1st time, as it started to rain and
the mud pond soon filled up.
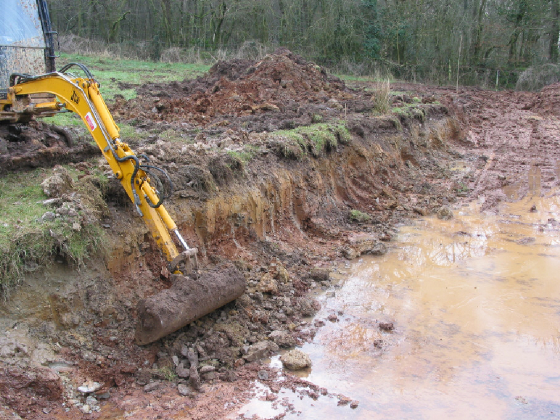
Work Begins
Just started to dig my way into the mud pond, so I can make it deeper. There was a bit of drizzle yesterday so this made
the clay nice and sticky.
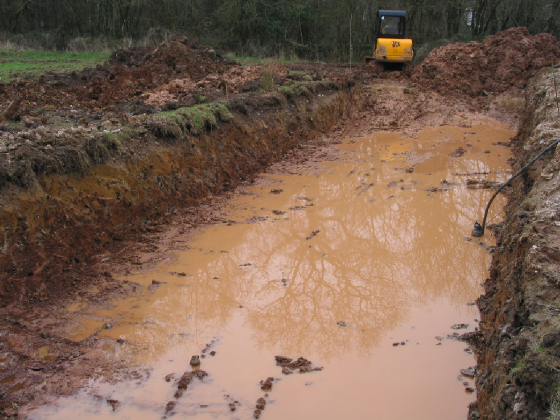
Halfway
I am at the halfway point, the digger has been removing the clay fairly well. So with any luck it should not take to
much more time to complete.
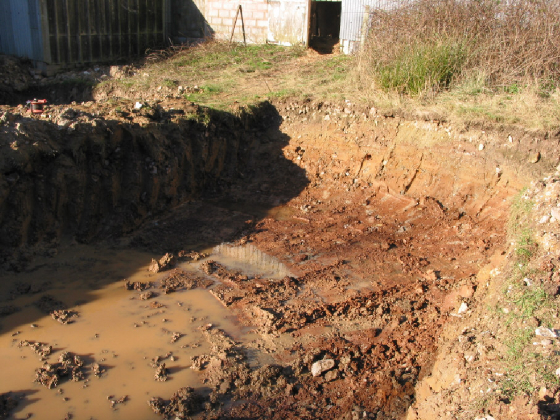
All Done
Finally managed to dig the last half out, still have to tidy up the bottom and straighten up the sides, but at least
the biggest part of the job is done. The digging went very well until I hit some very dry clay in the right hand corner, this
slowed the dig down a bit, but I got there in the end.
Straightening Up The Sides
I needed to straighten up the sides, then all I have to do is clean out the bottom of the mud pond and I can then
start filling with water, so not far to go now.
All Finished
Have now straightened up the sides and removed all the spoil from the mud pond, so I can start filling the mud pond back
up with with water.
Filling Up
The mud pond is now filling back up and looks finished.
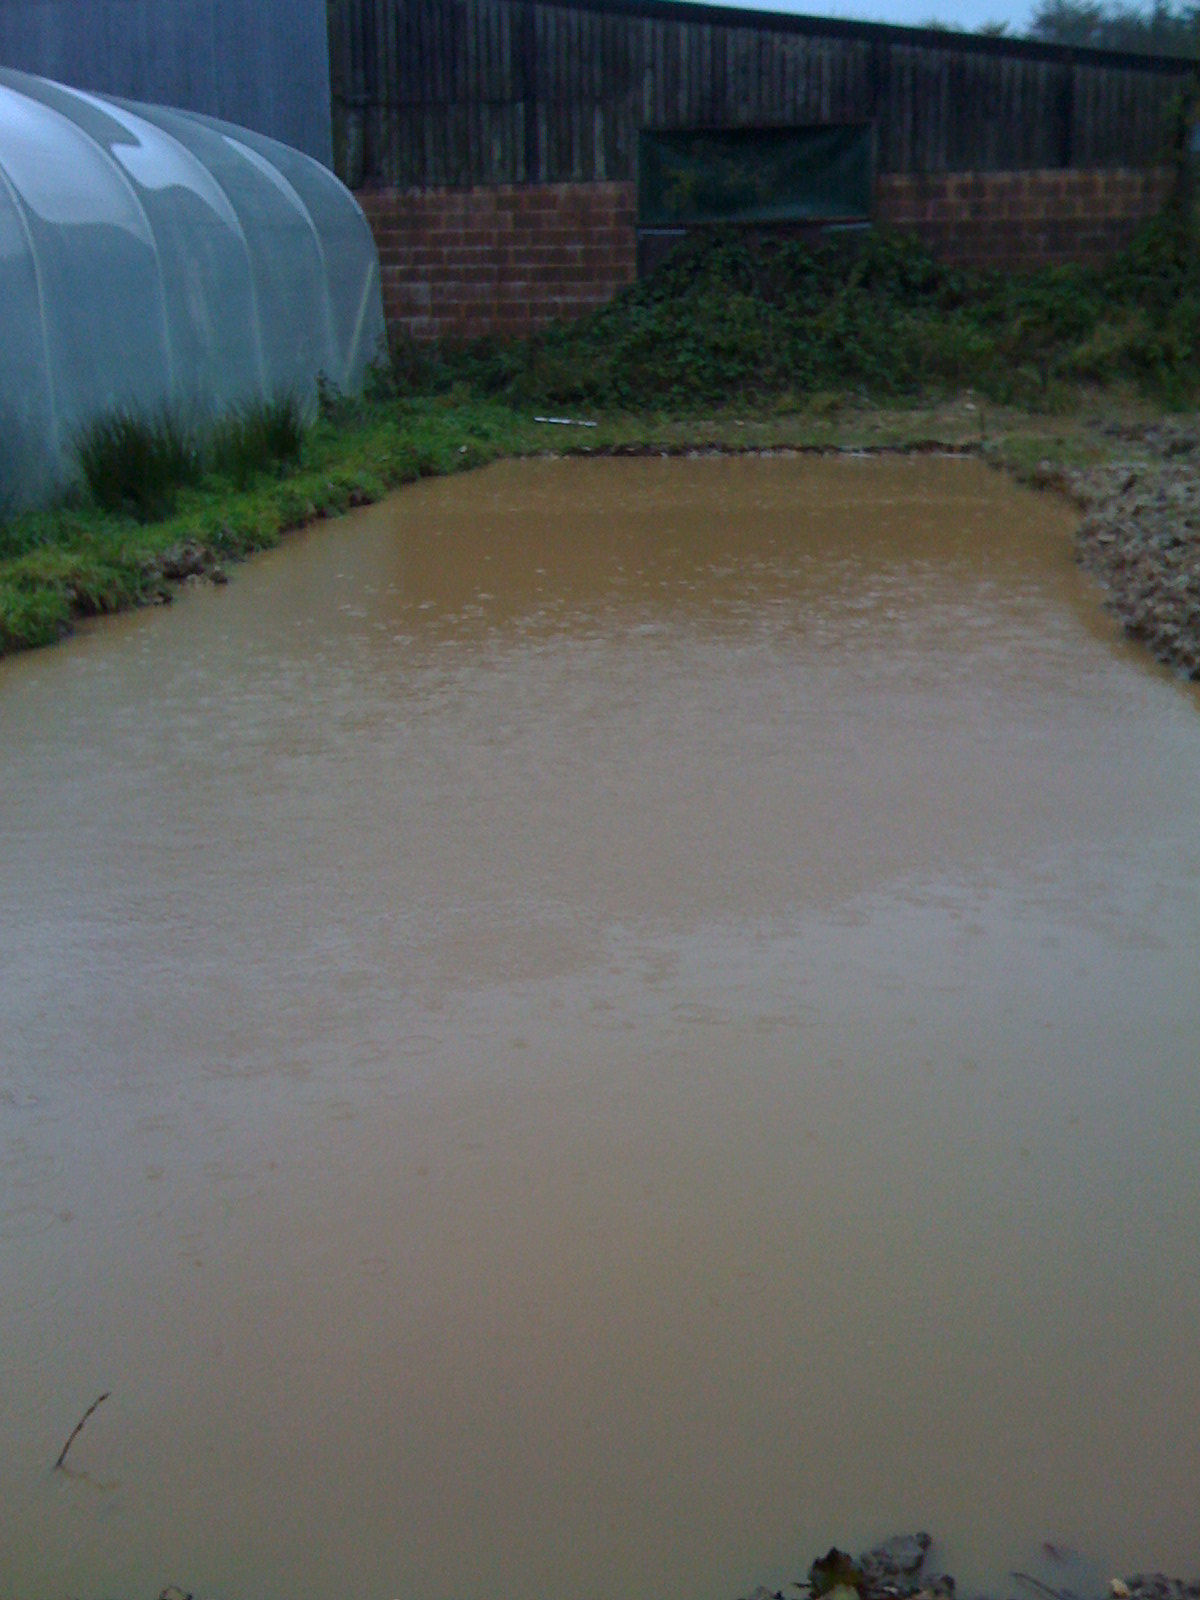
Filling Up
The polytunnel is now all finished, so I can now start filling up the mudponds. As you can see mudpond 2 is half full
and I have just started to fill up mudpond 1.
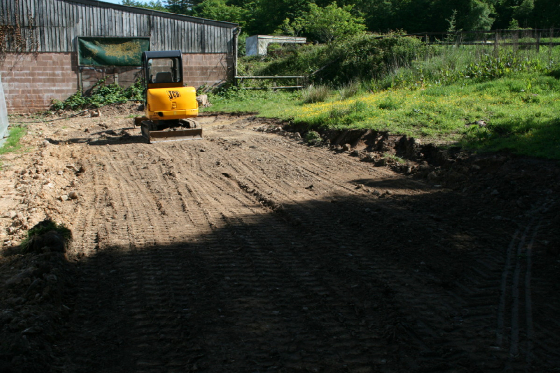
Leveling Off
Seeing how I have a bit more spare time at the moment, I decided to start leveling the ground out, this could turn into
mudpond number three if all goes well.
Getting There
Looking good, all it needs now is a hole in the ground for it to turn into a nice mudpond.
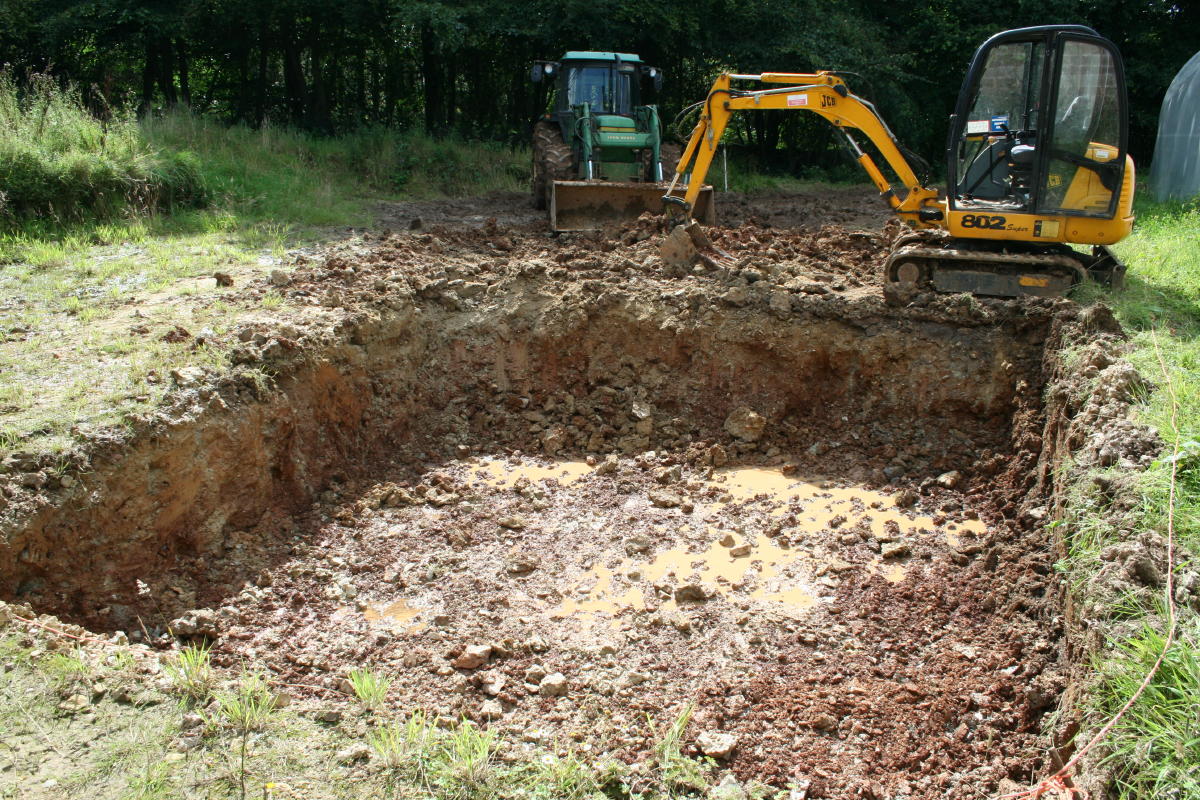
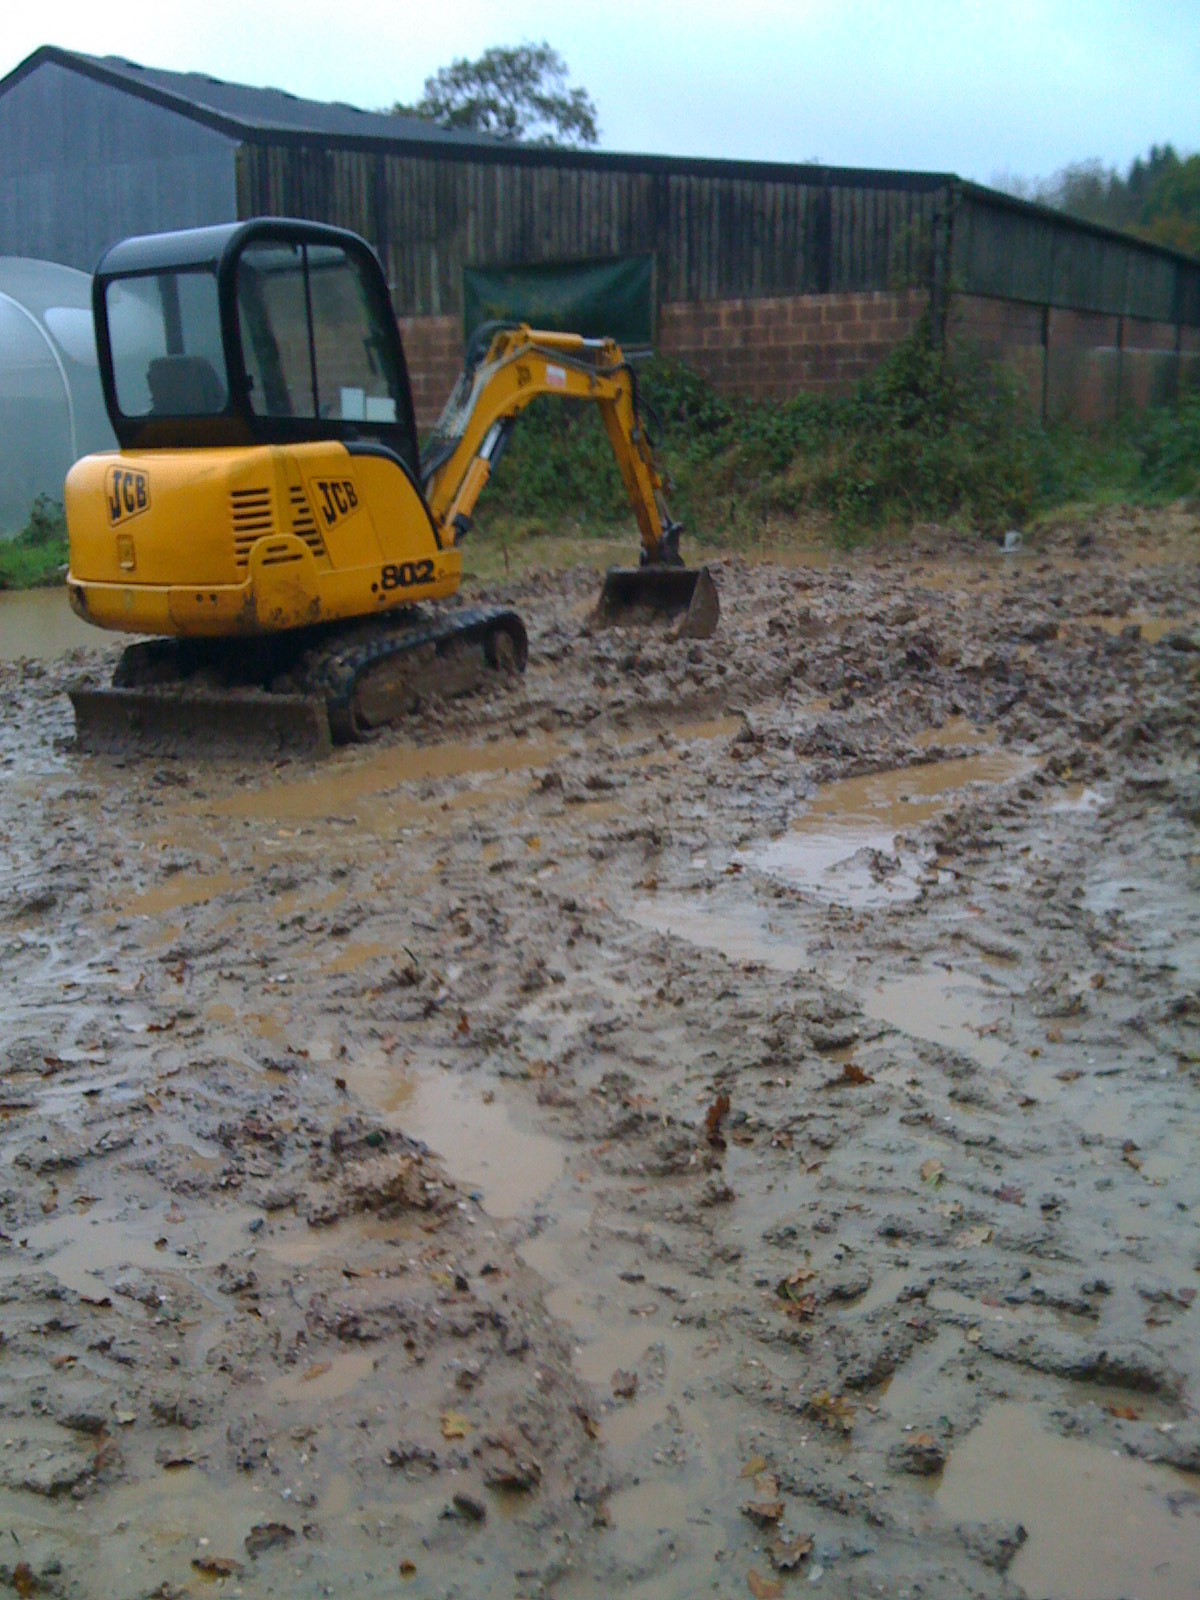
Number 3
I have started to dig mudpond 3, as you can never seem to have enough ponds. At least this time the weather is better
than it was when I was digging the other mudponds. The dig is going well and as you can see I am getting close to the
halfway point.
Weather Changes
As you can see mudpond 3 is now finished and with all the rain we have been having lately, it has now filled up.
Leveling Out
While I was on the digger, I decided to level out the ground alongside mudpond 3, just in case I decide to dig another
mudpond.
|